
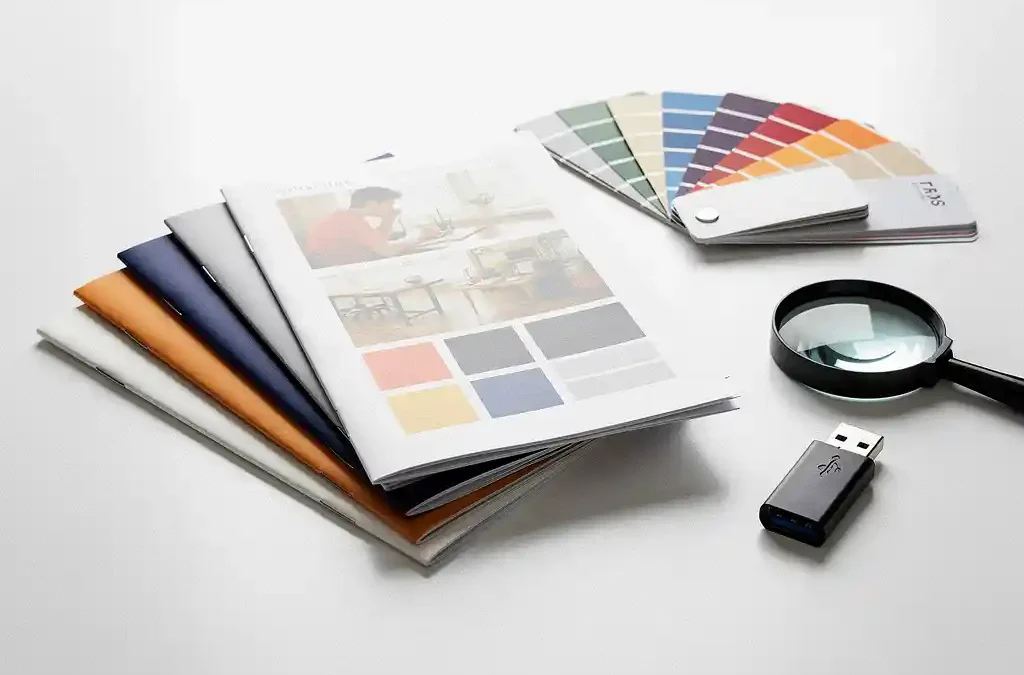
For print-ready files, you ideally need a PDF/X file delivered in CMYK color mode, with embedded fonts, a bleed of at least 3 mm, and images at a minimum of 300 dpi. This applies to virtually all professional print shops, whether offset or digital printing. In this article, we answer the most frequently asked questions about print-ready files, so your print job comes off the press without delays and with the best possible result. Do you have questions about your specific situation? Feel free to contact us — we’re happy to help.
Which file format do print shops prefer?
Most print shops strongly prefer a PDF/X file. This is a standardized version of the well-known PDF format, developed specifically for the graphic arts industry. PDF/X ensures that fonts are embedded, colors are correctly defined, and transparencies are flattened, so there are no surprises during printing.
Other file formats such as InDesign (.indd), Illustrator (.ai), or Word (.docx) are accepted by some print shops, but they come with risks. Fonts may be missing, colors may shift, and layouts can reflow if the print shop uses different software versions. A correctly prepared PDF/X file eliminates these risks and is therefore the professional standard for print-ready file submission.
What is the difference between PDF/X-1a, PDF/X-3, and PDF/X-4?
The three most widely used PDF/X variants differ primarily in how they handle color and transparency. PDF/X-1a is the most closed standard: everything must be converted to CMYK or spot colors, and transparencies are flattened. PDF/X-3 also allows RGB colors and ICC color profiles. PDF/X-4 is the most modern variant and supports live transparency and layers.
PDF/X-1a: the safest choice for offset printing
PDF/X-1a is the standard requested by most traditional print shops. Because everything is locked into CMYK and there are no live transparencies, the printer knows exactly what to expect. This makes it the most predictable and safest choice, especially if you are working with a print shop for the first time or are unsure which standard they use.
PDF/X-4: the modern standard for complex designs
PDF/X-4 is becoming increasingly popular because modern prepress software can correctly process live transparency and layers. If your design contains complex shadow effects or transparent elements, PDF/X-4 may be the better choice. Always check with your print shop whether they support PDF/X-4, as not every workflow is set up for it.
Which color mode should I use for print?
For print, always use CMYK (Cyan, Magenta, Yellow, Key/Black). Printing presses work with these four ink colors, and files submitted in RGB will be automatically converted by the print shop. That automatic conversion often produces unexpected color shifts, causing colors to look different on paper than they do on your screen.
If you are designing with Pantone or spot colors, it is important to explicitly name them in your file and to verify whether the print shop works with spot colors. Spot colors are mixed separately and provide more accurate color reproduction than CMYK, but are generally more expensive. For most standard print jobs, a well-calibrated CMYK profile such as ISO Coated v2 is the recommended choice.
What is bleed and why is it required for print-ready files?
Bleed is a border of extra image or color that extends beyond the trim size of your design. In professional printing, a bleed of at least 3 mm on all sides is required whenever an element runs to the edge of the paper. Without bleed, white edges can appear after trimming, because cutting machines never work with millimeter-perfect accuracy.
Imagine designing a brochure with a fully colored background. If that color ends exactly on the trim line and the cutting machine is off by half a millimeter, a white strip will appear at the edge. With 3 mm of bleed, you compensate for that inevitable small deviation. In addition to bleed, it is also wise to keep text and important elements at least 3 to 5 mm inside the trim line — this is known as the safety zone.
What resolution do images need for print?
For print, images need a resolution of at least 300 dpi (dots per inch), measured at the final print size. An image that looks sharp on screen often has only 72 or 96 dpi and will print as grainy and blurry on paper. This is one of the most common mistakes when submitting print-ready files.
Keep in mind that resolution always depends on the size. An image at 300 dpi at A4 size does not automatically have sufficient quality if you scale it up to A2. Never scale images beyond 100% in your layout application without rechecking the resolution. For large-format printing, such as banners or exhibition panels, different standards apply: 100 to 150 dpi at the final size is often sufficient, because the material is viewed from a greater distance.
How do I check whether my file is truly print-ready?
A file is print-ready when it meets all the technical requirements of the print shop: correct file format, CMYK color mode, embedded fonts, sufficient bleed, and images at a minimum of 300 dpi. The most reliable way to verify this is to run a preflight check in your layout application or in Adobe Acrobat Pro.
The preflight function in applications such as Adobe InDesign or Acrobat automatically checks for common errors such as missing fonts, low-resolution images, RGB colors, and missing bleed. Many print shops also offer their own online preflight tool where you can upload your PDF for review. Always use these tools before submitting a file, because corrections after the fact cost time and money.
- Check that all fonts are embedded in the PDF
- Verify that the color mode is entirely CMYK, with no remaining RGB values
- Check the bleed on all four sides (minimum 3 mm)
- Check the resolution of all placed images (minimum 300 dpi)
- Save as PDF/X-1a or PDF/X-4, depending on what the print shop requires
At Crestec Europe, we combine our printing services with an in-house DTP team that performs preflight checks on your files and adjusts them to print specifications where necessary. This ensures your print job is produced without delays and with the expected result. Want to find out what we can do for your print project? Request a quote and we will get back to you promptly.
Frequently Asked Questions
Can I create a print-ready file from Microsoft Word or PowerPoint?
Although Word and PowerPoint offer the option to save a file as a PDF, these files are rarely suitable for professional printing. Fonts are not always correctly embedded, color profiles are often missing, and the bleed setting is not available. If you do work from Word or PowerPoint, it is strongly recommended to have the design converted to a professional layout application such as Adobe InDesign, so that the file meets all print specifications.
What happens if I accidentally leave RGB colors in my print-ready PDF?
If RGB colors are still present in your file, the print shop will automatically convert them to CMYK. This sounds convenient, but the automatic conversion can lead to unexpected color shifts — vivid screen colors may appear dull or off on paper. Always run a preflight check to detect any remaining RGB values and convert colors manually to CMYK using the correct ICC profile, such as ISO Coated v2, for a predictable and accurate result.
How do I correctly set up bleed when working in Adobe InDesign?
When creating a new document in Adobe InDesign, you can set the bleed directly under ‘More Options’ in the document settings dialog — enter 3 mm for all four sides. When you later export the file as a PDF/X, you will find the bleed settings under the ‘Marks and Bleed’ tab. Also make sure that all backgrounds and edge images in your design actually extend to the bleed line, otherwise the setting will have no effect.
My image looks sharp on screen, but the print shop says the resolution is too low. How is that possible?
Screens typically operate at 72 to 96 dpi, whereas print requires a minimum of 300 dpi. An image that looks large and sharp on your monitor can appear grainy and blurry when printed because the pixel density is simply too low. Check the actual resolution of your image in Photoshop via ‘Image > Image Size’ and make sure the resolution at the final print size is at least 300 dpi. Never artificially upscale an image with insufficient resolution, as this does not add any real image quality.
What common mistakes should I avoid when submitting print-ready files?
The most common mistakes are: missing or non-embedded fonts, submitting files in RGB instead of CMYK, insufficient or missing bleed, images with too low a resolution, and using the wrong PDF standard. Another frequent mistake is placing text or logos too close to the trim line, causing them to be partially cut off during trimming. By running a thorough preflight check before submitting your file, you can avoid most of these problems.
Do I always need to convert spot colors (Pantone) to CMYK?
It depends on the print shop and the type of print job. Spot colors such as Pantone are mixed separately and provide more accurate and consistent color reproduction than CMYK — ideal for brand colors that need to match exactly. Always check with your print shop whether they work with spot colors; not every digital press supports this. If spot colors are not supported, convert them carefully to CMYK using the official Pantone-to-CMYK conversion tables to minimize color deviations.
How long does it take to find out whether my submitted file has been approved?
The turnaround time for a preflight check varies by print shop. Many print shops offer an automated online preflight tool that generates a report immediately after uploading. For a manual check by a prepress operator, this can take anywhere from a few hours to one business day. At Crestec Europe, our in-house DTP team performs the preflight check and will contact you if any adjustments are needed, so your print job can go into production as quickly as possible.
Related Articles
- How does the proofreading process work for multilingual print materials?
- How do I manage the inventory of printed documentation for multiple countries?
- What are the benefits of printing manuals?
- How do I keep my technical documentation up to date when my product keeps changing?
- What regulations affect localised software?